Vehicle Seat Vacancy Identification
This document outlines a sophisticated approach to identifying seat vacancies in vehicles using Arduino technology. The system leverages sensors and microcontrollers to provide real-time data on seat occupancy, enhancing passenger management and improving overall vehicle efficiency. The following sections detail the components, design, and implementation of this innovative solution.
Introduction
In modern transportation, efficient management of passenger seating is crucial for optimizing space and enhancing user experience. The Advanced Arduino Based Vehicle Seat Vacancy Identification system aims to address this need by utilizing sensors to detect whether a seat is occupied or vacant. This technology can be applied in various vehicles, including buses, trains, and taxis, to streamline operations and improve service delivery.
Components Required
Arduino Board: The central microcontroller that processes sensor data.
Ultrasonic Sensors: To detect the presence of a passenger in a seat.
LED Indicators: To visually represent seat occupancy status (green for vacant, red for occupied).
Buzzer: To provide audio feedback when a seat is occupied.
Power Supply: To power the Arduino and sensors.
Jumper Wires and Breadboard: For connections and prototyping.
System Design
Sensor Placement
Ultrasonic sensors are strategically placed above each seat to measure the distance to the seat. When a passenger occupies the seat, the distance measured by the sensor decreases, indicating occupancy.
Circuit Diagram
A simple circuit diagram can be created to illustrate how the components are connected to the Arduino. Each ultrasonic sensor is connected to a digital input pin on the Arduino, while the LED indicators and buzzer are connected to the output pins.

Code Implementation
The Arduino code will continuously read data from the ultrasonic sensors and determine the occupancy status of each seat. Below is a simplified version of the code:
#include#define TRIGGER_PIN 12 #define ECHO_PIN 11 #define MAX_DISTANCE 200 // Maximum distance (in cm) to check for occupancy NewPing sonar(TRIGGER_PIN, ECHO_PIN, MAX_DISTANCE); void setup() { Serial.begin(9600); pinMode(LED_PIN, OUTPUT); pinMode(BUZZER_PIN, OUTPUT); } void loop() { delay(50); int distance = sonar.ping_cm(); if (distance < 50) { // Assuming 50 cm is the threshold for occupancy digitalWrite(LED_PIN, HIGH); // Seat occupied digitalWrite(BUZZER_PIN, HIGH); // Sound buzzer } else { digitalWrite(LED_PIN, LOW); // Seat vacant digitalWrite(BUZZER_PIN, LOW); // Turn off buzzer } }
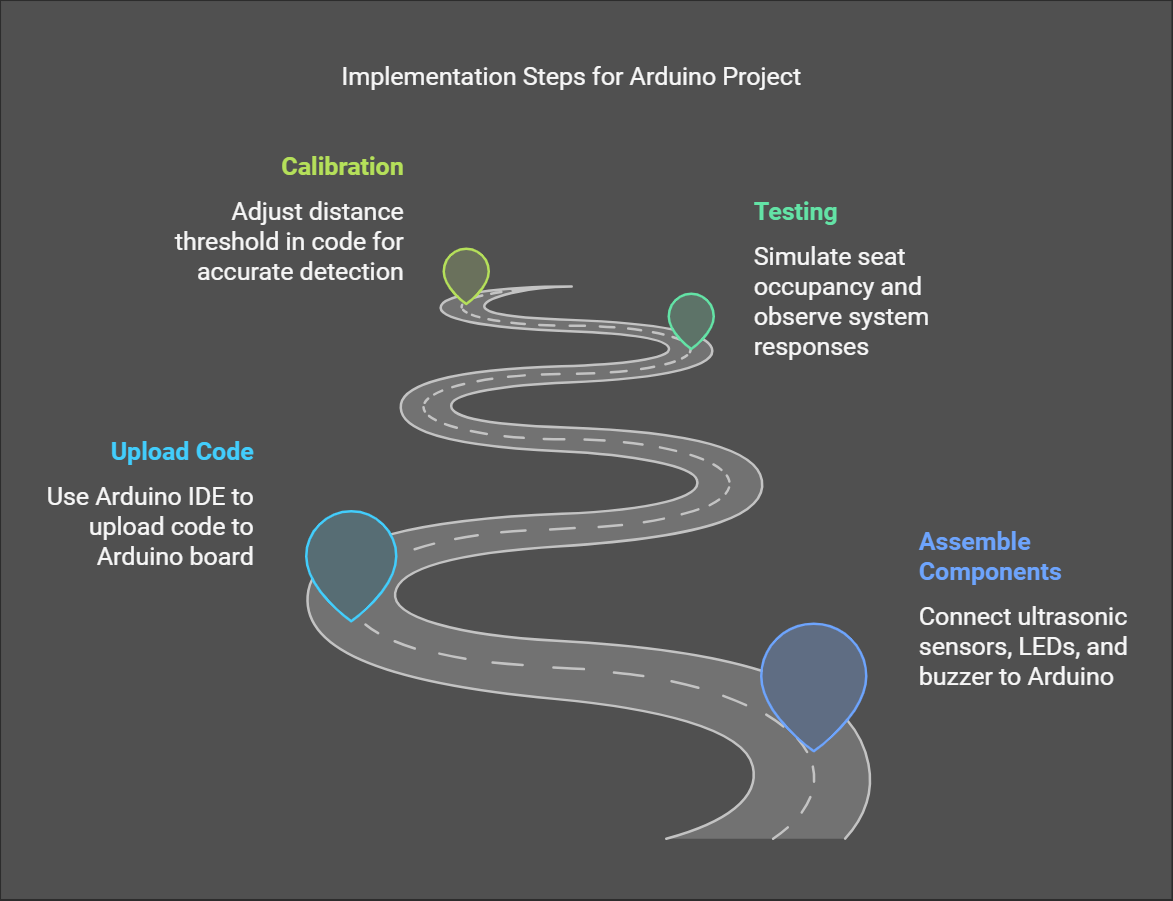
Implementation Steps
Assemble the Components: Connect the ultrasonic sensors, LEDs, and buzzer to the Arduino as per the circuit diagram.
Upload the Code: Use the Arduino IDE to upload the code to the Arduino board.
Testing: Test the system by simulating seat occupancy and observing the LED and buzzer responses.
Calibration: Adjust the distance threshold in the code as necessary to ensure accurate detection.
Conclusion
The Advanced Arduino Based Vehicle Seat Vacancy Identification system presents a practical solution for managing seat occupancy in various transportation modes. By implementing this technology, vehicle operators can enhance passenger experience, optimize seating arrangements, and improve operational efficiency. Future enhancements could include integrating this system with mobile applications for real-time seat availability updates.
We have more details like Algorithm Information, Condition Checks, Technology, Industry & Human Benefits:
1. Title Page
- Title Sources
2. Abstract
- Summary of the Project
- Key Findings
- Keywords
3. Introduction
- Background
- Problem Statement
- Research Questions
- Objectives
4. Literature Review
- Theoretical Framework
- Review of Related Studies
- Gaps in the Literature
5. Project Methodology
- Research Design
- Data Collection Methods
- Data Analysis Techniques
- Ethical Considerations
6. Project Results
- Data Presentation
- Statistical Analysis
- Key Findings
7. Discussion
- Interpretation of Results
- Implications of Findings
- Limitations
8. project Conclusion
- Summary of Findings
- Recommendations
- Future Research Directions
9. References
- References and Resources Links
10. Appendices
- Final Source Code
- Survey
- Live environment/Real world Data Sets
- Additional Figures and Tables
The final table of contents depends on the project selection.


